


Craft
Paper chain craft
Paper chain settings
Advanced settings
How to make your paper chain
Cut the strips
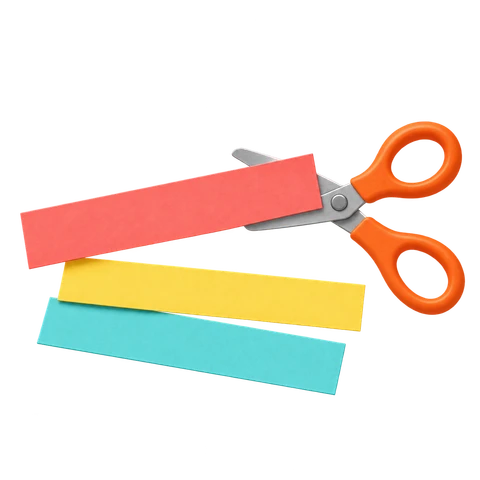
Print the template and cut along the dashed lines.
Make a loop
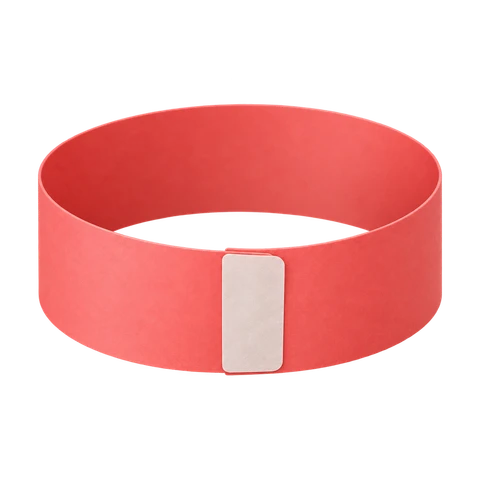
Bring the ends together to make a loop and glue them.
Link the next strip
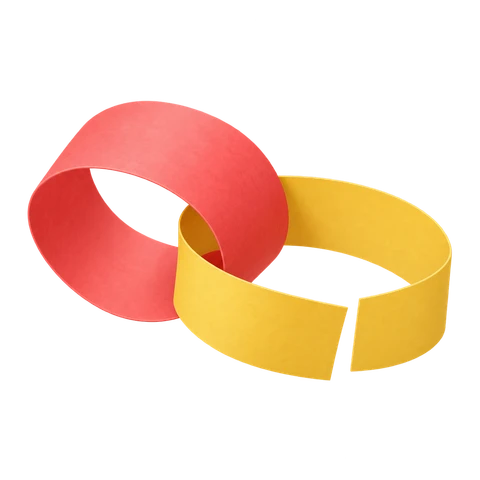
Thread the next strip through the first loop before gluing it.
Keep adding

Keep adding strips until your chain is as long as you like!


Quick guide
How it works
Turn a page of colourful strips into a chain you can hang across a room. Each strip prints with a dashed cut line and a marked glue tab, so the only tools are scissors and a glue stick. Print it again for a longer chain.
Choose how the strips print and how many fit on the page, then download the template as a PDF.
Choose a style: colour, a pattern, or ink-friendly colour-in outlines.
Choose six, eight or ten strips on the page.
Show or hide the cutting guides and the numbered glue tabs.
Download and print on A4 or US Letter paper.
Cut along the dashed lines, then loop, glue and link.
Teaching tip
Using these worksheets in teaching
Linking loops is an early lesson in repeating a unit: the chain grows by exactly one link each time, which makes it a natural thing to count along, and to predict from. Making a paper countdown chain — one link a day, removed each morning — turns that counting into a visible measure of time passing, which is easier for a young child to hold on to than a calendar.
Frequently asked questions
Can I use coloured paper instead?
Yes. Choose the “Colour-in” style and print on plain paper, then use the sheet as a guide to cut strips from your own coloured paper. That also uses far less ink than the colour version.
How do I make a longer chain?
Print the page as many times as you like — every sheet adds six to ten more links. Choosing the narrower “Slim” width fits ten strips on the page instead of six, so each sheet adds a few more.
What is the glue tab for?
It is the end you put the glue on. Curl the strip round until the tab sits under the other end, then press. Thread the next strip through the finished loop before you glue it.
What age is this craft for?
Four and up. Younger children usually need help with the cutting; the looping and gluing is the part they can do on their own.
Related tools
- Multiplication worksheets
- Maths worksheets
- Math worksheets (US)
- Number bonds
- Money worksheets
- Fractions
- Telling the time
- Place value
- Number lines
- Times table chart
- Hundreds chart
- Area and perimeter
- Shapes
- Coordinate grids
- Elapsed time
- Bar charts
- Bar graphs (US)
- Long multiplication
- Long division
- Rounding
- Comparing numbers
- Pictographs
- Line plots
- Symmetry
- Order of operations
- Solving equations
- Decimals
- Angles
- Mean, median and mode
- Roman numerals
- Cross-number puzzles
- Story blanks
- Logic grid puzzles
- ABC order
- Name tracing
- Word searches
- Word scrambles
- Crosswords
- Kids crossword
- Picture crossword
- Spelling crosswords
- Vocabulary crosswords
- Maths crosswords
- Themed crosswords
- Mini crosswords
- Paper butterfly
- Paper flower
- Paper chain
- Paper crown
- Paper ladybird
- Paper snowflake
- Paper pinwheel
- Paper rocket
- Accordion fish
- Animal mask
- Owl puppet
- Spelling worksheets
- Matching worksheets
- Flashcards
- Bingo cards
- Word ladders
- Word hunts
- Word families
- Sudoku
- Nonograms
- Mazes
- Sight words
- Award certificates
- Reading logs
- Reward charts
- Handwriting paper
- Graph paper
- all generators
Last reviewed: July 2026. Worksheet content is generated by deterministic algorithms and covered by automated correctness tests — no AI-generated answers.